5 minutes
How to upgrade vCenter Server 5.1 to 6.0 Update 2 with embedded Platform Services Controller (PSC)
Hello, in this article we will see how we can upgrade our vCenter Server 5.1 with SSO to vCenter Server 6.0 update 2 with embedded Platform Services Controller (PSC).
A small analysis of what the installer is doing:
- The installer is doing some pre-upgrade checks and configuration before the upgrade is started
- When the upgrade process begins the first thing is the export of all the current configuration and data that there is in the vCenter Server 5.1
- Then the installer will Remove all the components and packages from the vCenter (also stop and remove the services)
- After that it will Install all the components and will start the services
- And in the end it will import the configuration that have been exported in the beginning of the process.
The upgrade process in my case took ~2.30 hours with a small-medium environment (~170 Virtual Machines).
Before we proceed with the upgrade is good to do a reset of the Inventory Service Database. The process of resetting the IS Database is pretty straight forward but is good to have a full backup of the Database just in case :)
In order to reset the Inventory Service Database please follow the instructions in the KB Article.
After the reset of the Inventory Service Database, we will need to download from https://my.vmware.com the vCenter Server for Windows ISO. After the download is completed you have to upload the ISO to a Datastore that vCenter Server has access in order to mount it to the vCenter Virtual Machine. To mount the ISO you have to go to the vCenter Virtual Machine -> Right Click -> Edit Settings -> CD\DVD -> Datastore ISO File -> Browse in order to find your ISO then click ok. Don't forget to enable the checkbox in the CD\DVD "Connect".
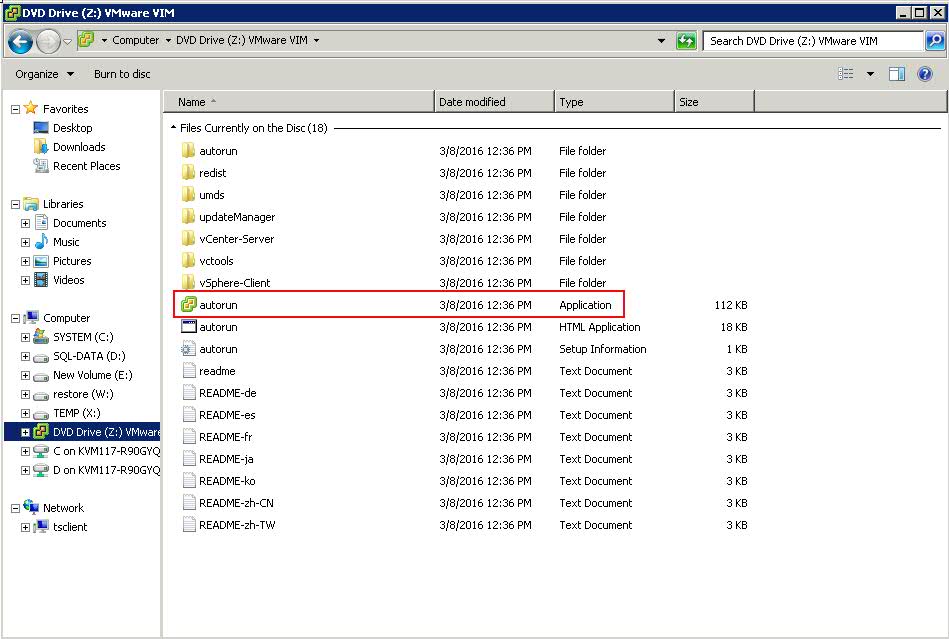
After you mount successfully the ISO, go to your vCenter Server (via RDP or Console) navigate to My Computer and Open the CD\DVD Drive and run the autorun application:
Then, the page for Installing different components will be opened and you want to click on the vCenter Server for Windows and Install button in order to start the upgrade process

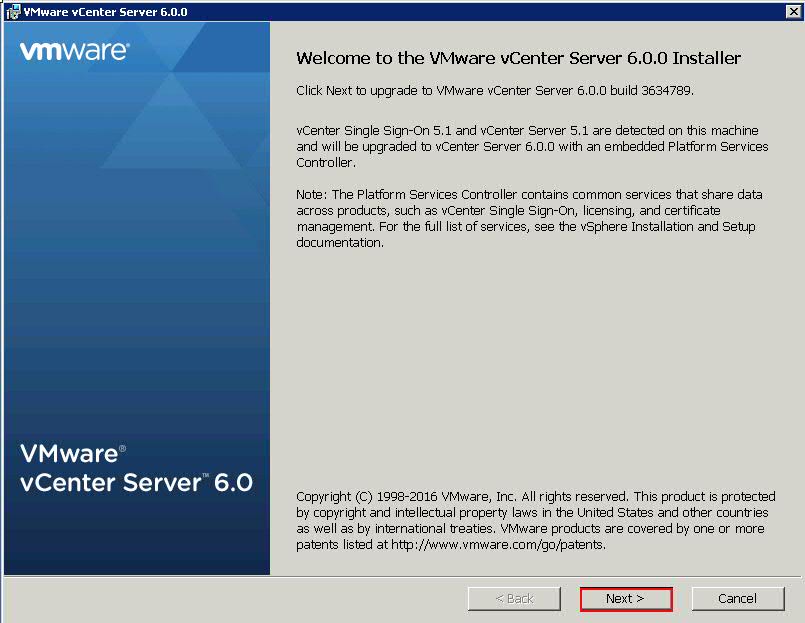
After this you will see the Welcome screen that gives you an update note about what you have deployed and what will be deployed if you upgrade successfully
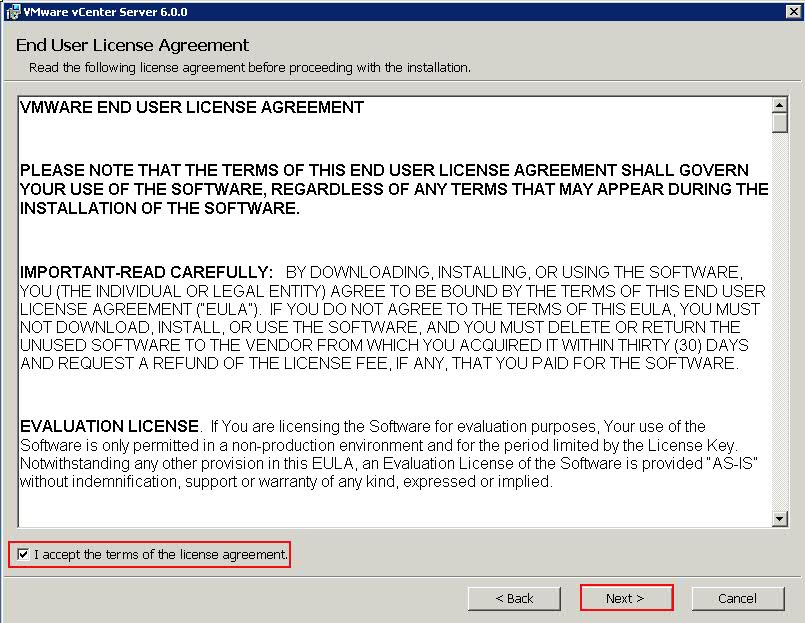
After this you have to accept EULA
Then the wizard will ask you for the admin@system-domain credentials. (For vCenter 5.5 is administrator@vsphere.local). In this step also the wizard is checking for accesses to the SQL Server and is checking also if the vpxuser (vCenter Database user) has the proper permissions. If something doesn’t work (vpxuser permissions or admin@system-domain problem) you will take error when you will click next.

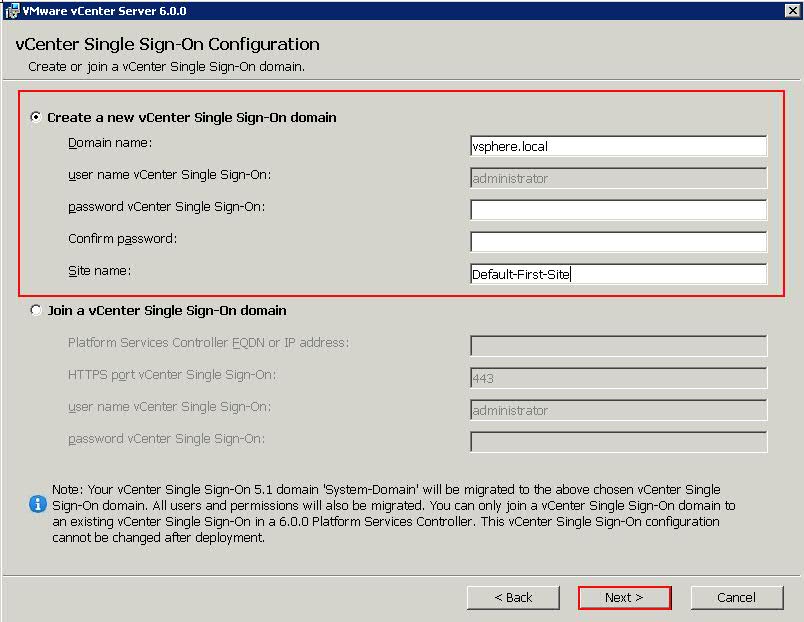
In the new vCenter there is PSC instead of just SSO and also the username for the vCenter domain is changing to vsphere.local so you have to create a new user, password and Site. (Note: In case there is already a PSC 6.0 you can connect it directly there, but this is out of the scope for this guide).
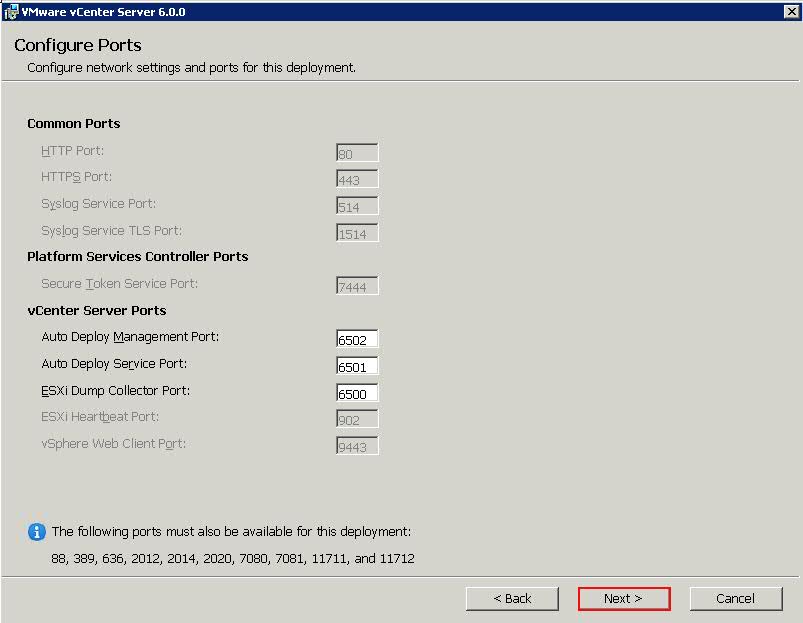
In the next step you have to configure the ports (if you have already have them in the default port just click next). Otherwise you have to change them based on your needs. As you can see the only ports that you can change is the ports of the Auto Deploy and ESXi Dump Collector because is not a clean installation but upgrade of the current one. You can change them later if you have to.
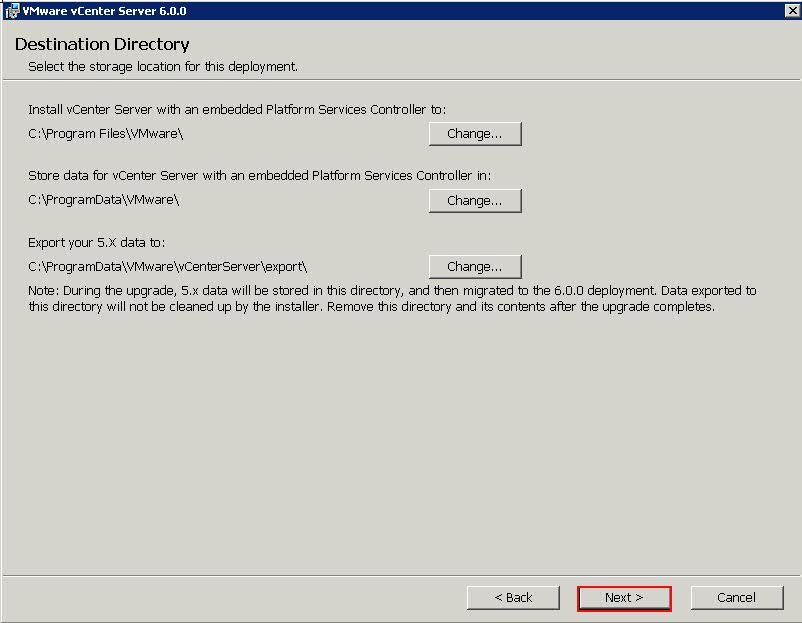
Then you have to choose the directory that you want to be installed. Again leave it as it is (default path) or change it based on your needs
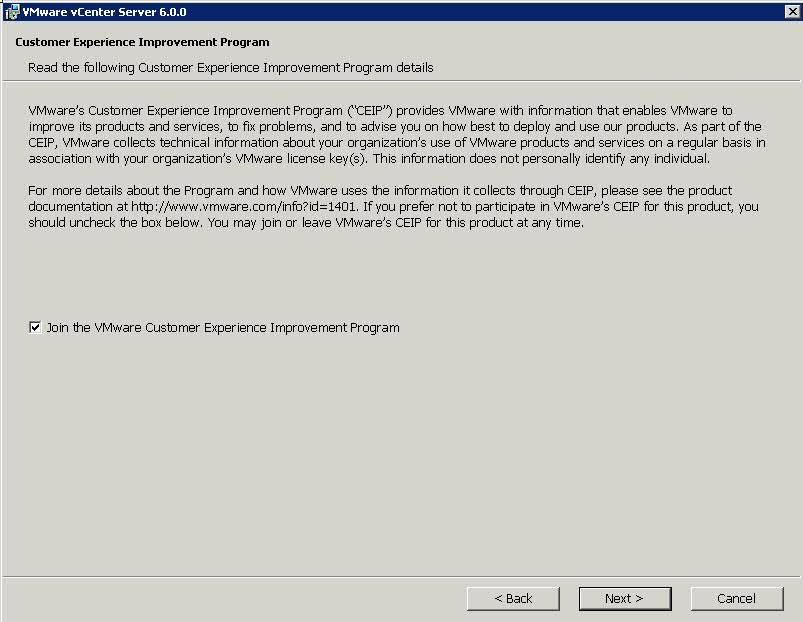
Here you can join Customer Experience Improvement Program (CEIP). Is the program that the vSphere infrastructure (vCenter) sending informations errors, warnings or anything about your configuration back to VMware and you are helping VMware to improve the product. The thing is that if your infrastructure is not reachable to the Internet directly the CEIP will not send anything to VMware. I will click Join but i know that my vCenter server is behind a lot of security layers so will never contact CEIP.
Last but not least you have to Accept the EULA
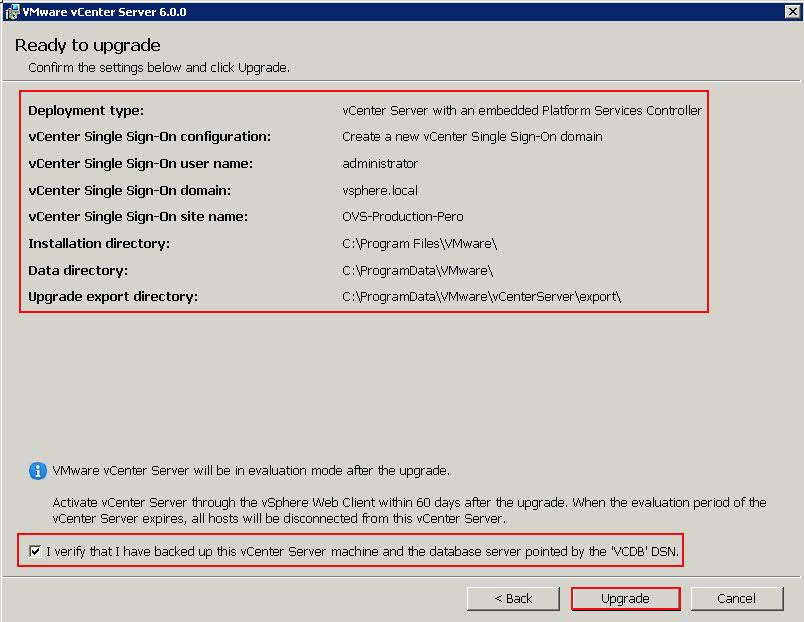
Before the installation start you will see the Summary page that inform you about the previous steps you have choose. Also there is a checkbox that has to remind you that you have backed up the vCenter Server machine and the database server is pointed the 'VCDB' DSN.
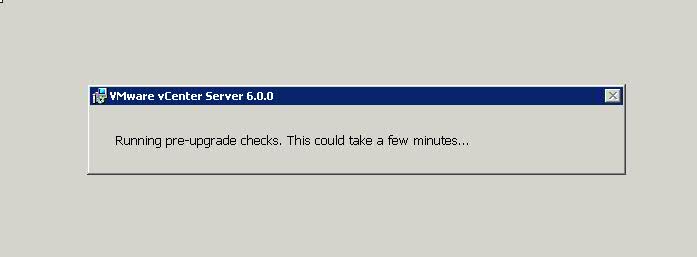
After clicking the Upgrade you will see the progress bar of the Pre-Upgrade Checks.
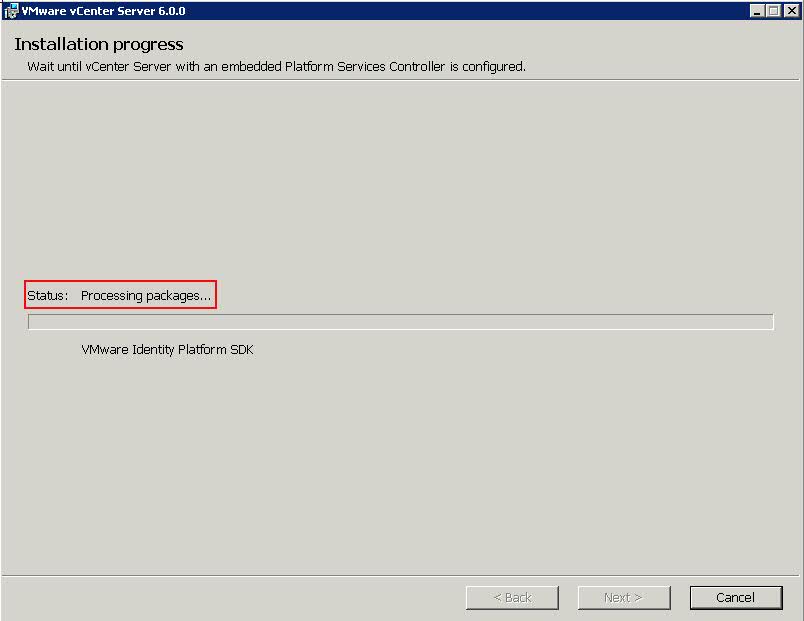
After Pre-Upgrade completes the next step of the installer is the processing of the Current Packages
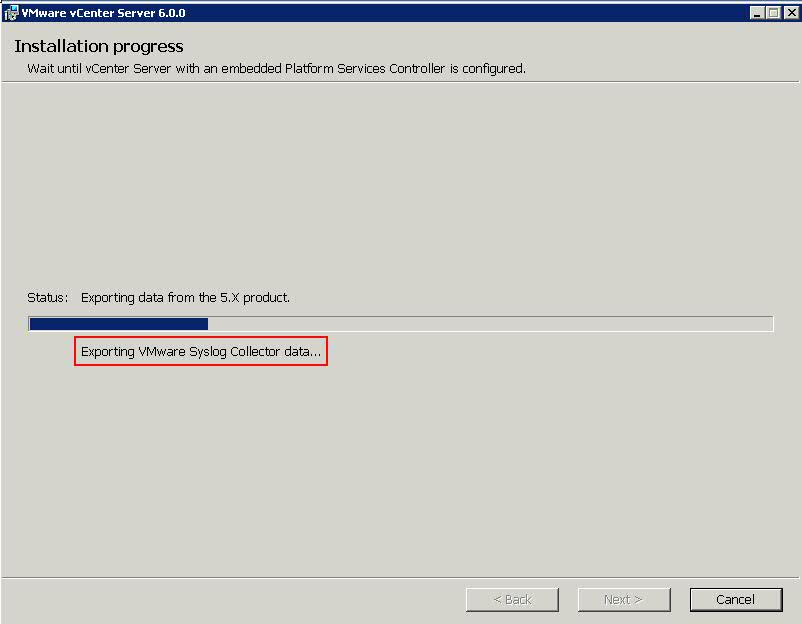
Then you will see that Export of Data is being performed
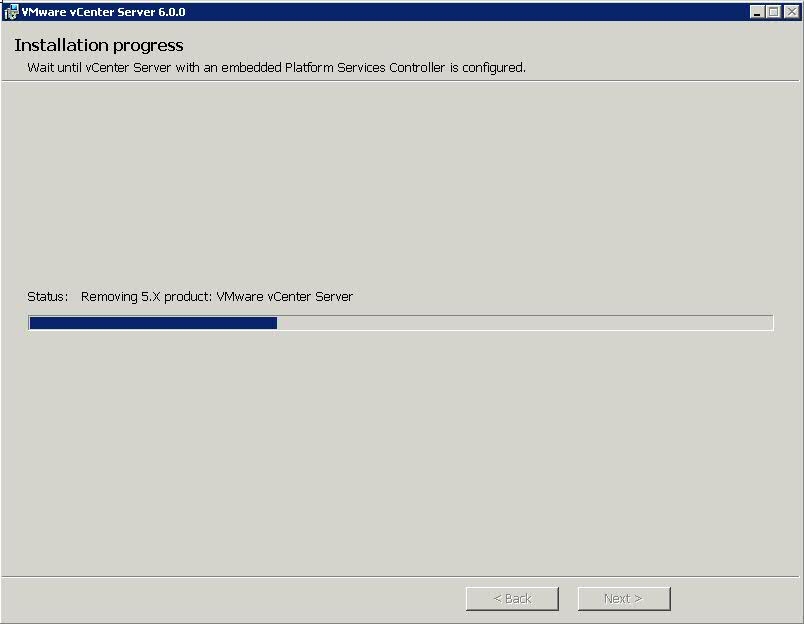
When export is finished the installer is removing the packages you have installed
After the remove the next step is the installation of the new packages and services for vSphere 6.0. Don’t be afraid of the time will take, it takes a lot :)
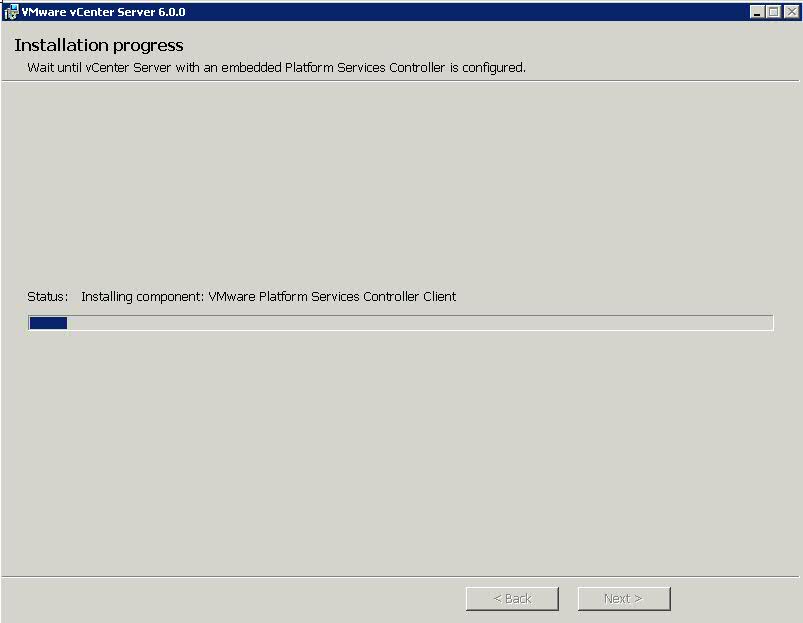
The last part of the installation is to importing back all the data to the new installation and restart some service before you are ready to go.

If everything is successful you will see the last page that you have successfully upgrade the vCenter Server to vCenter Server 6.0
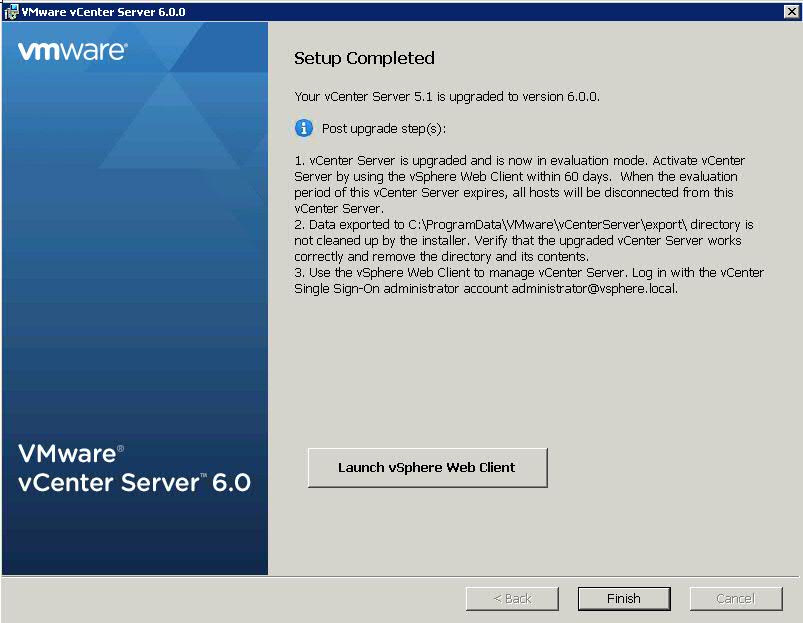
In the last page the installer will inform you where is the exported data in case that something is not working well and you want to revert everything back.
That’s it, now you have your vCenter Server to the latest version and everything should be working fine. In case you found any problem or advise please leave me a comment. Thank you a lot for your visit :)